☁️ AWS Lambda Layer for Python Dependencies

Objective: Create a layer.zip file containing Python dependencies, ready for manual upload to AWS Lambda as a Layer.
1. Setup
Prerequisites:
- Python: Installed.
- pip: Installed with Python.
- virtualenv: If not installed, get it using
pip install virtualenv.
2. Create a New Project Directory
mkdir lambda-layer-project
cd lambda-layer-project
Note: This step organizes your work. Working in a dedicated directory ensures you don't mix other files or get sidetracked with other projects.
3. Set Up a Virtual Environment
virtualenv venv
Activate the virtual environment:
- Mac/Linux:
source venv/bin/activate - Windows:
.\venv\Scripts\activate
Note: This step ensures that the libraries you install don't interfere with your global Python environment. Especially useful if you have multiple projects with varying dependencies.
4. Create a Python Directory and Install Dependencies
mkdir python
Note: The folder must be named python. AWS Lambda expects this specific structure for the layer. Full documentation here.
Install your desired libraries directly into this python directory using the --target option:
pip install requests --target ./python
Note: Replace requests with whatever package you want to install. For example, to install coinbase-advancedtrade-python, use:
pip install coinbase-advancedtrade-python --target ./python
5. Package the Dependencies into a ZIP File
Navigate to the main project directory and package the python folder:
zip -r9 layer.zip python
This will create layer.zip with the python directory at the root of the ZIP archive.
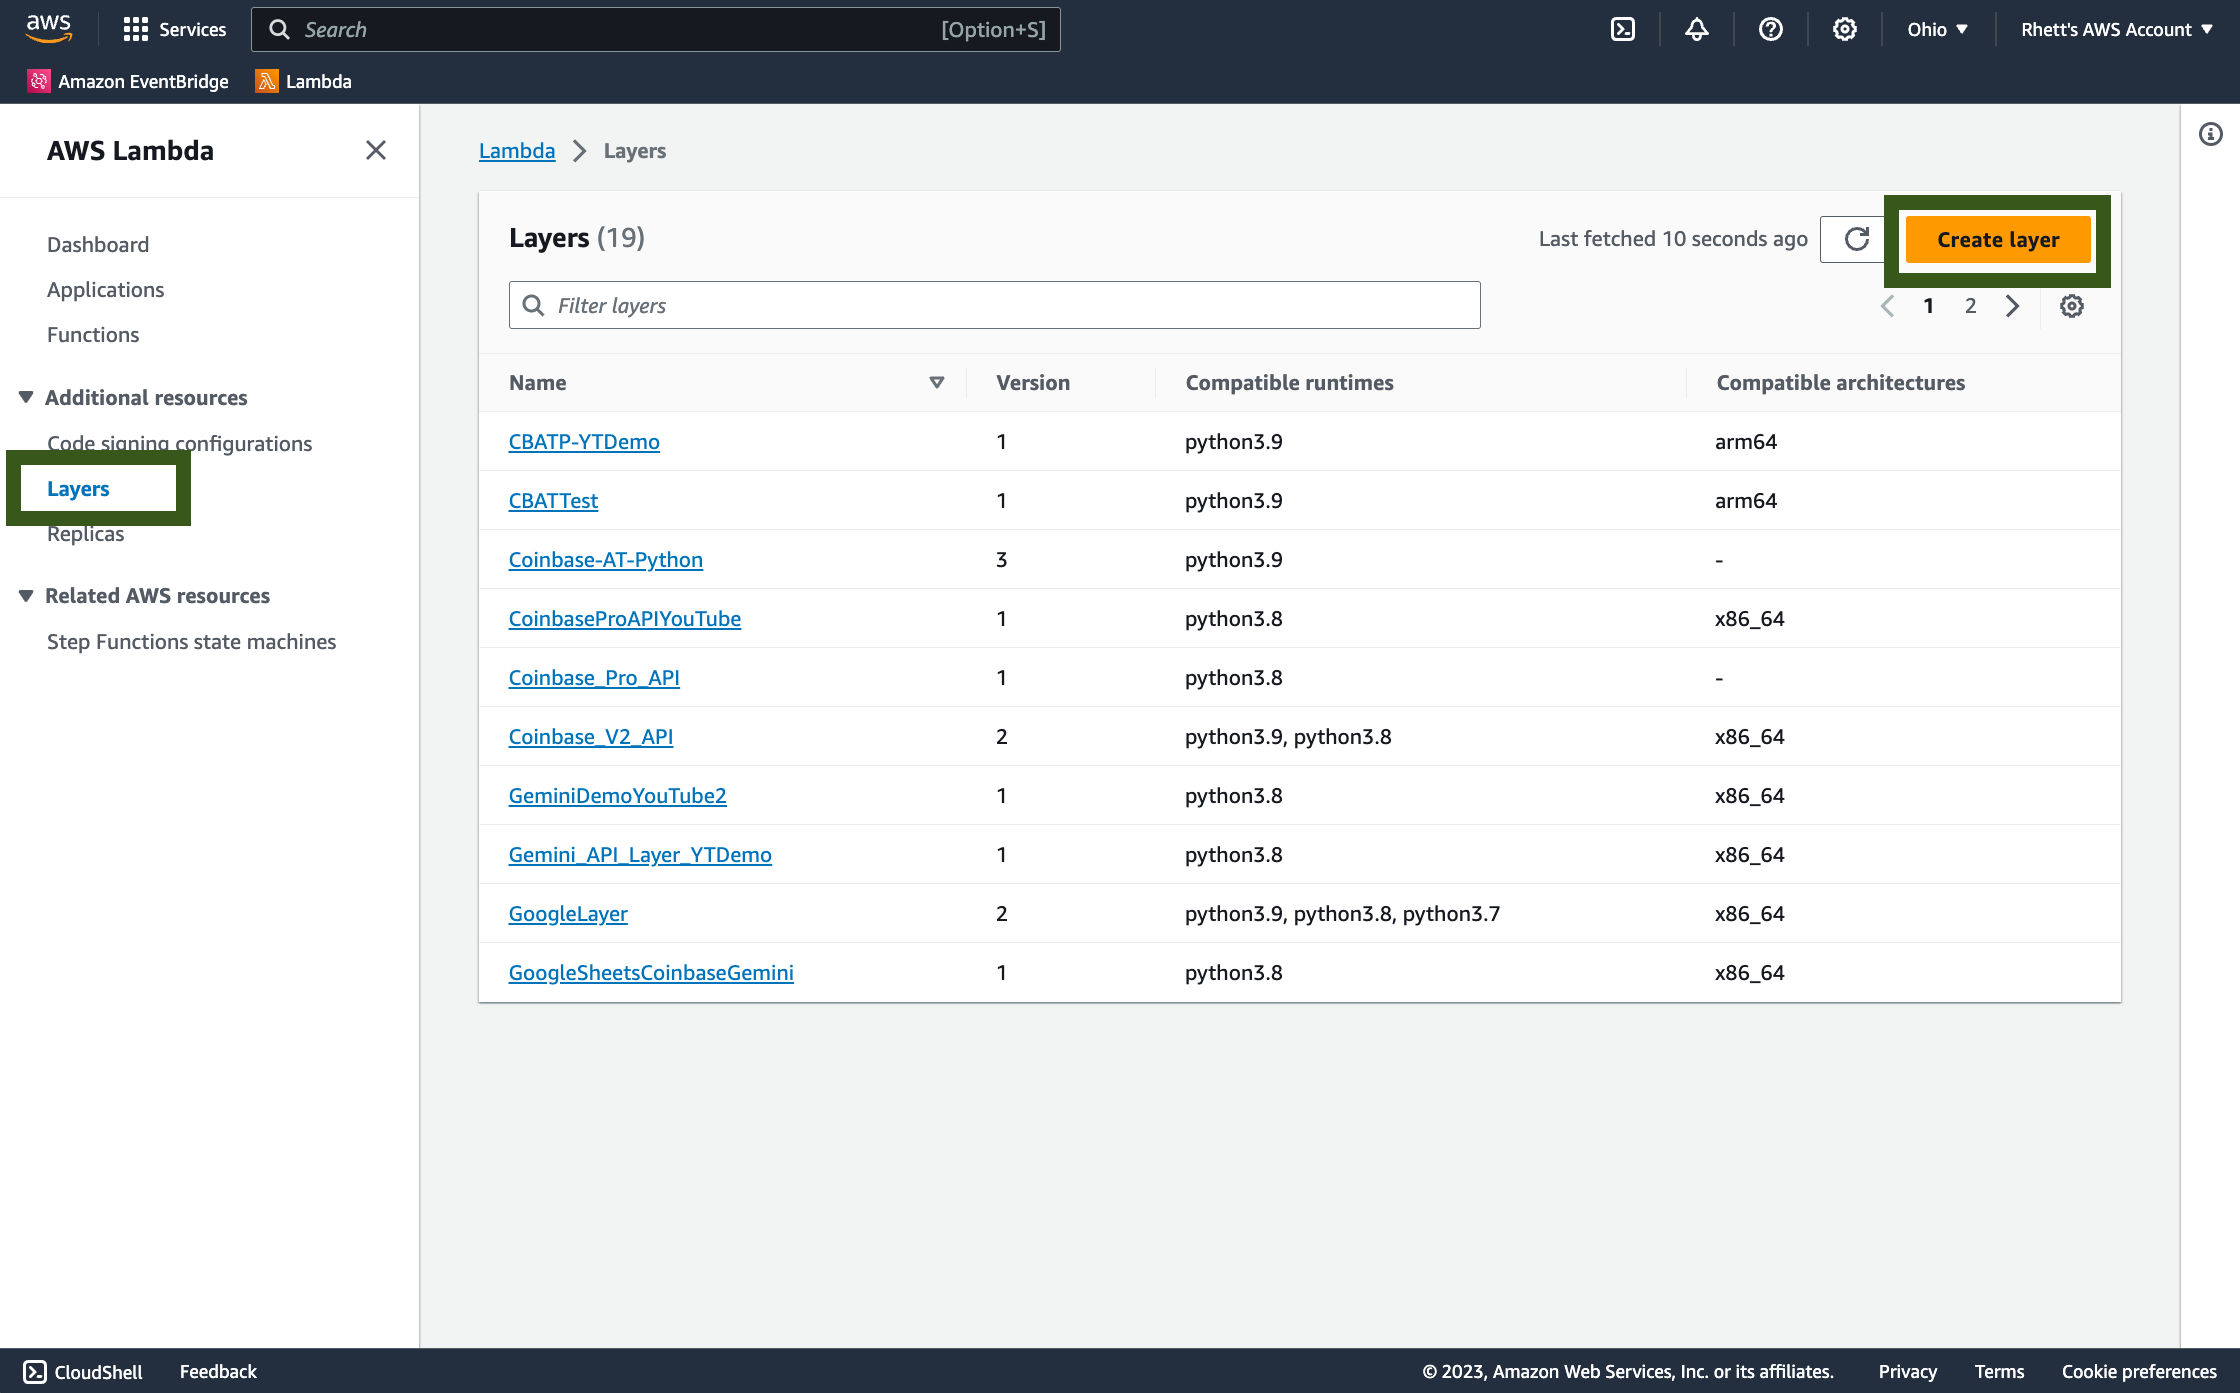
6a. Manual Upload to AWS
- Navigate to the AWS Management Console.
- Go to Lambda > Layers.
- Click Create layer.
- Provide a name for your layer.
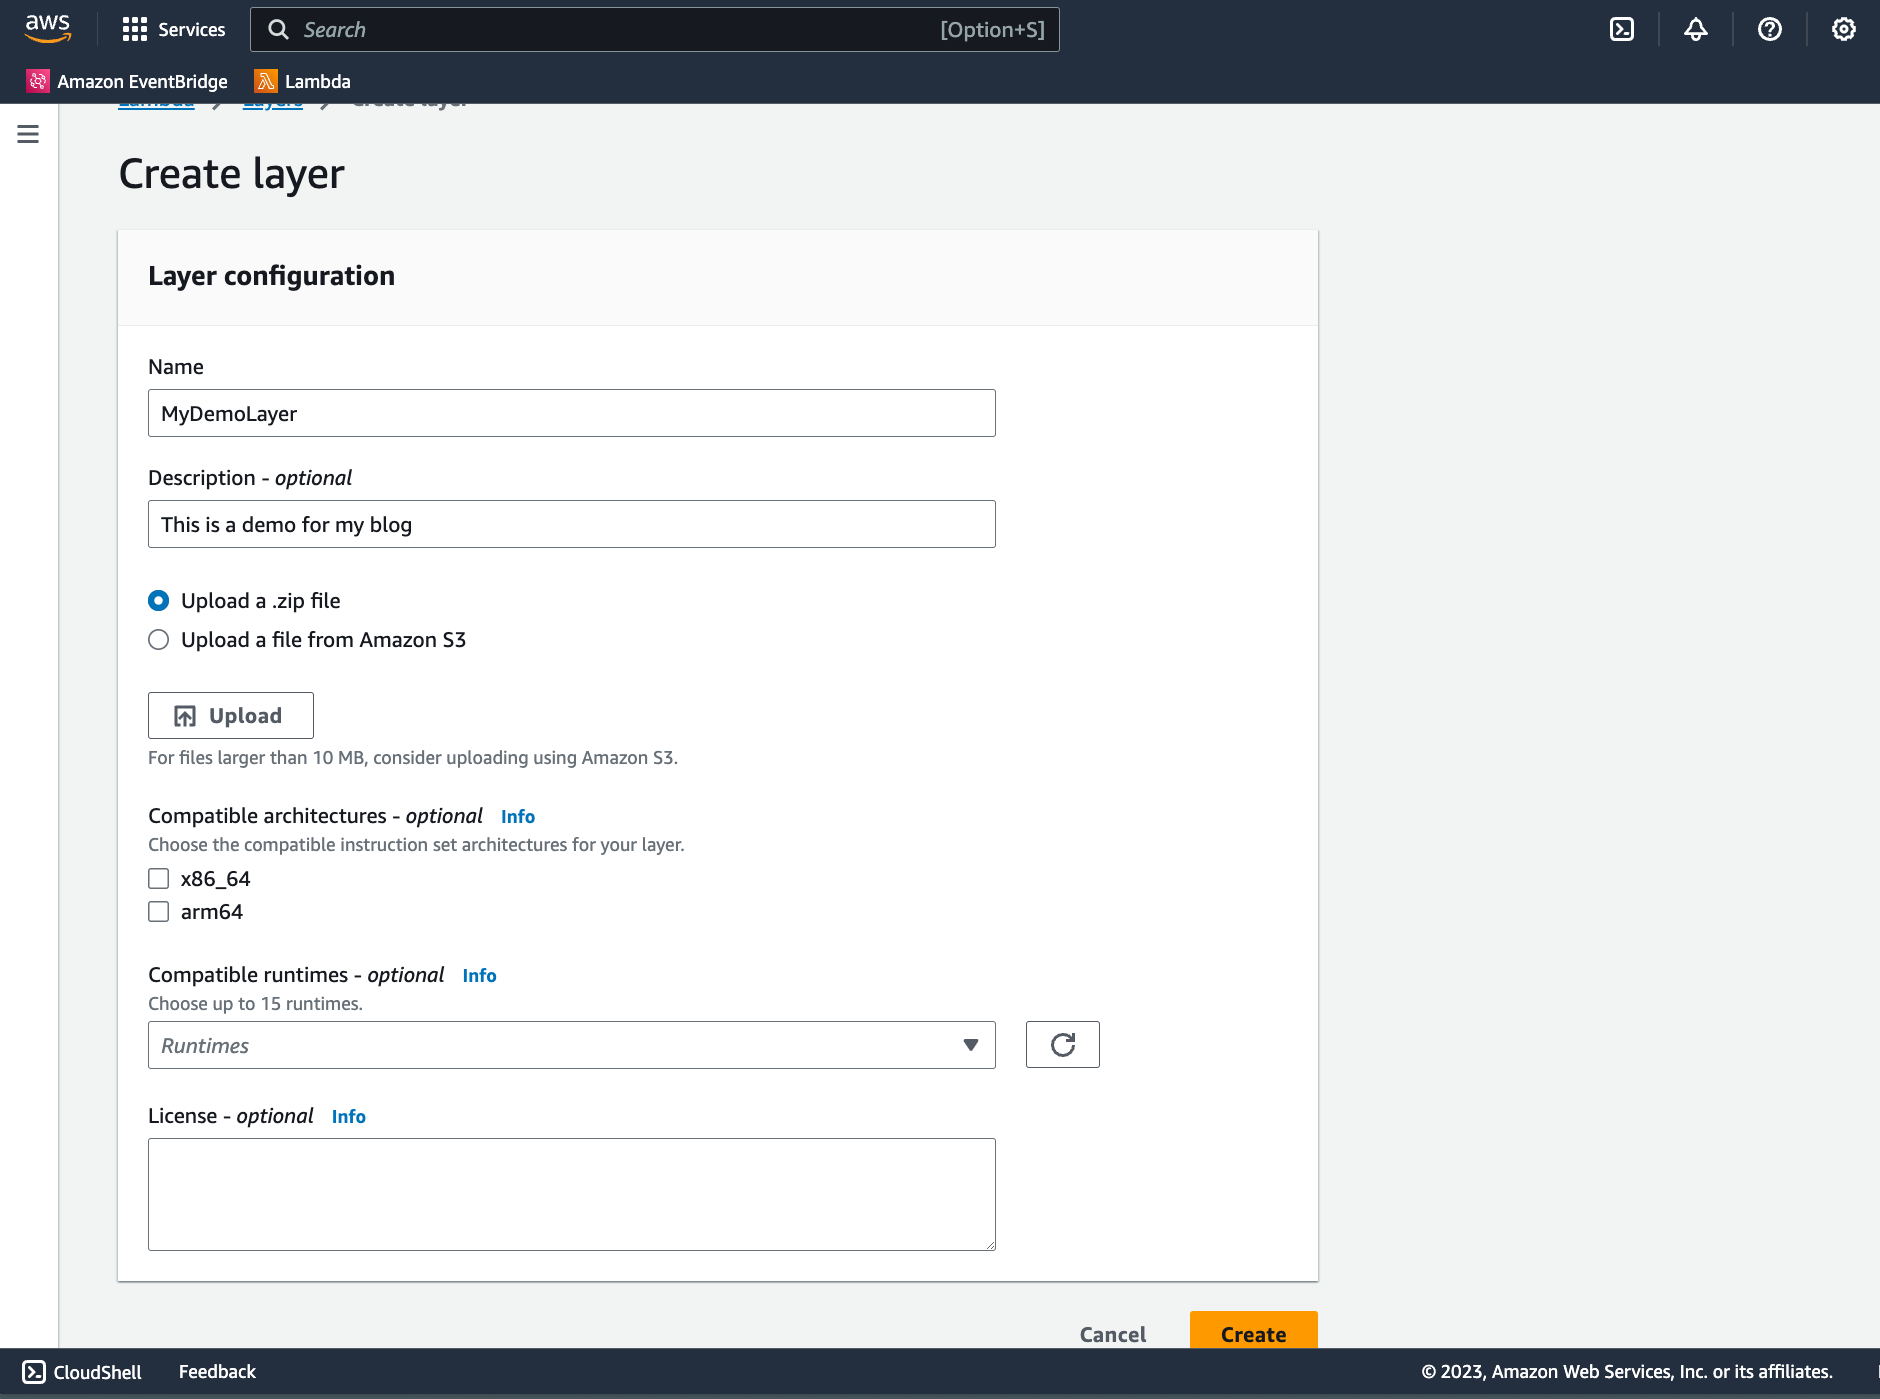
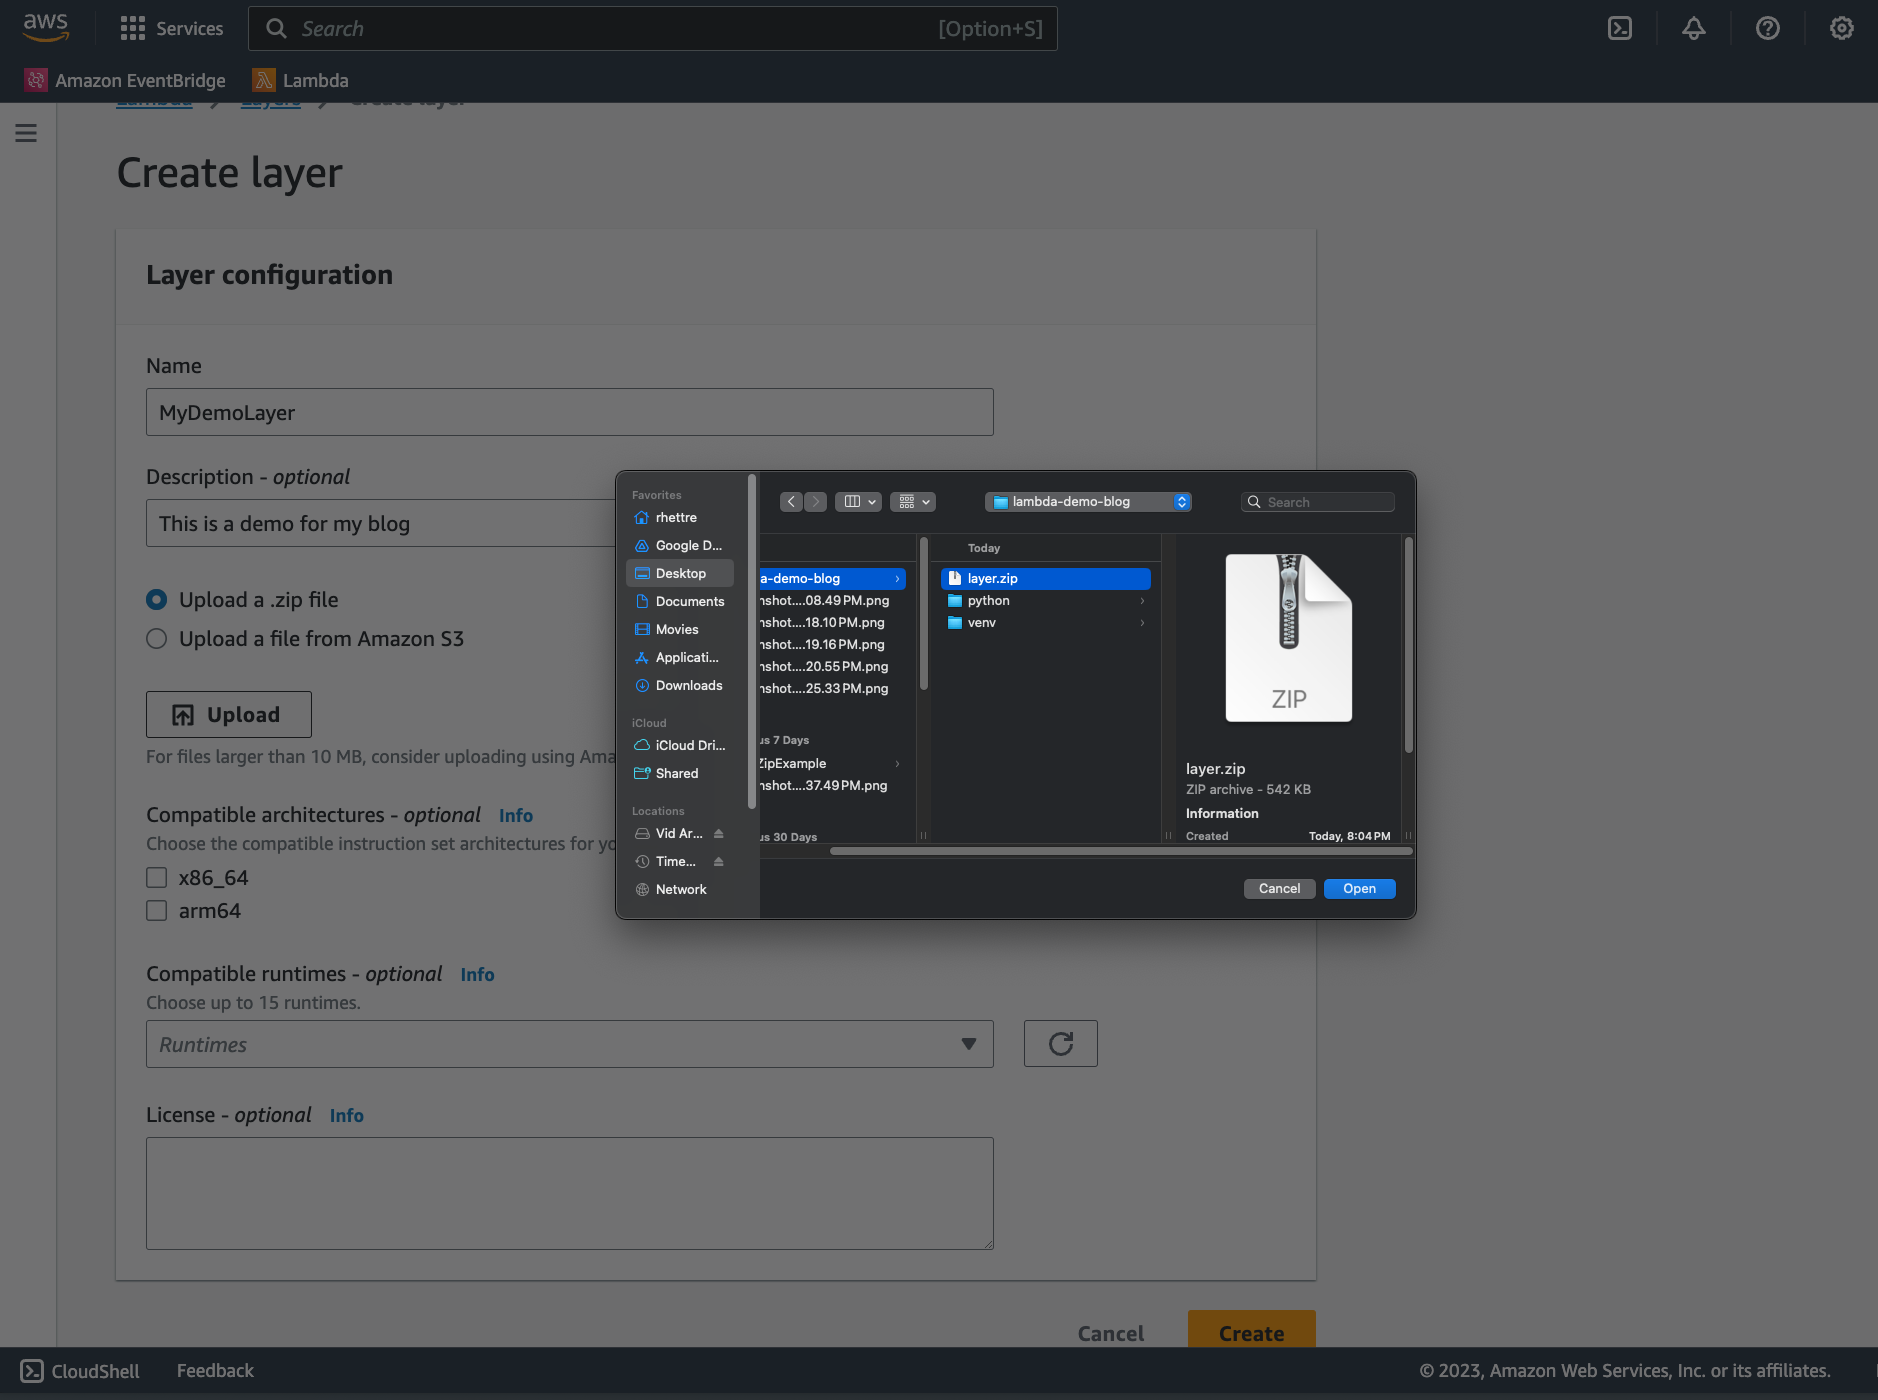
- Click Upload and select your
layer.zipfile from the main directory.
- Choose the appropriate runtime (e.g., Python 3.9).
- Click Create.
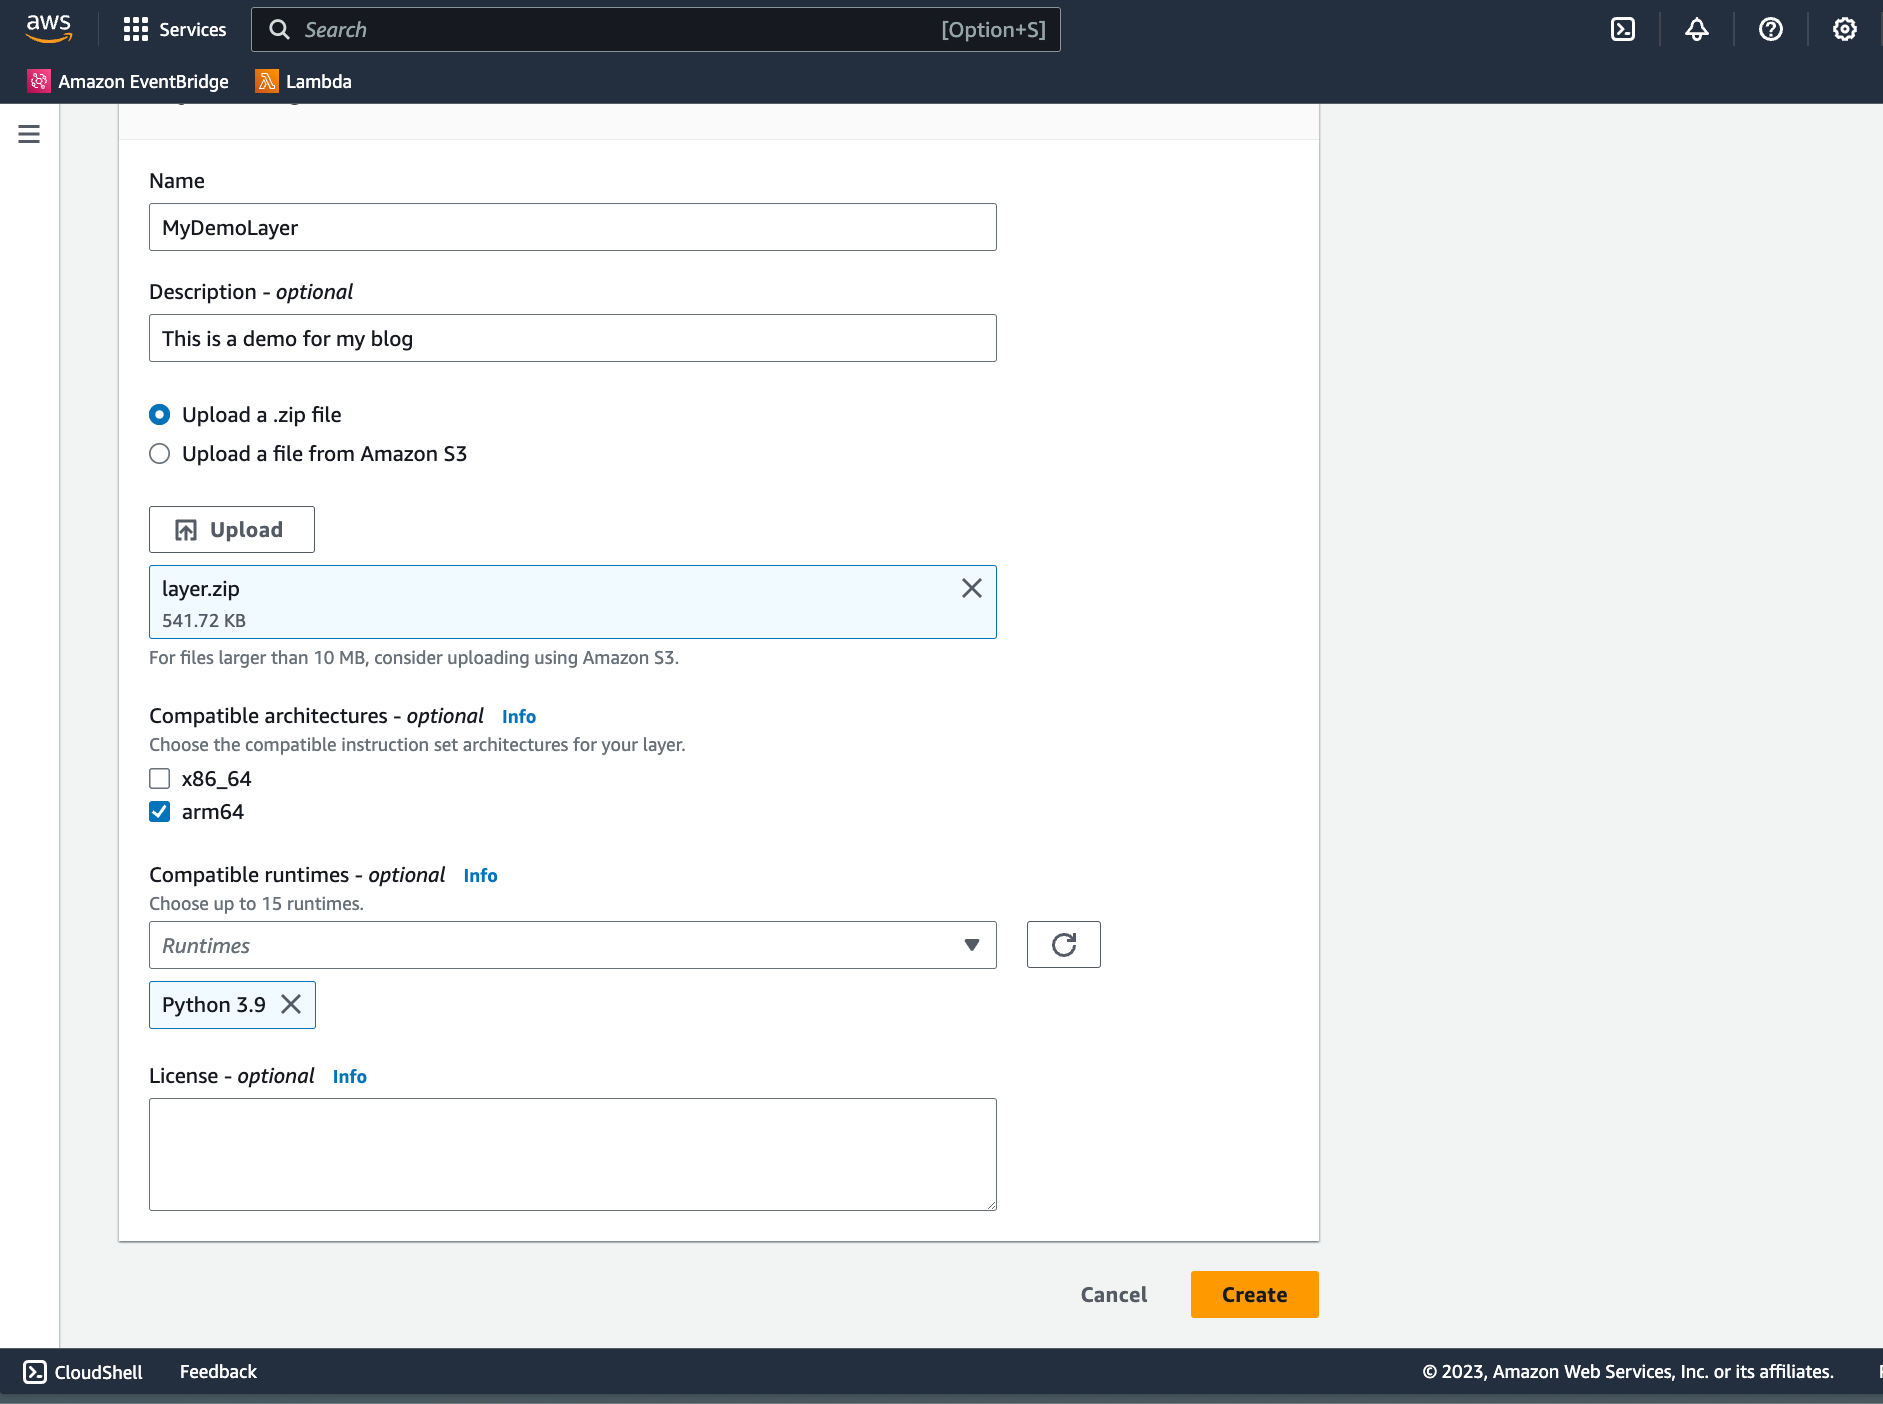
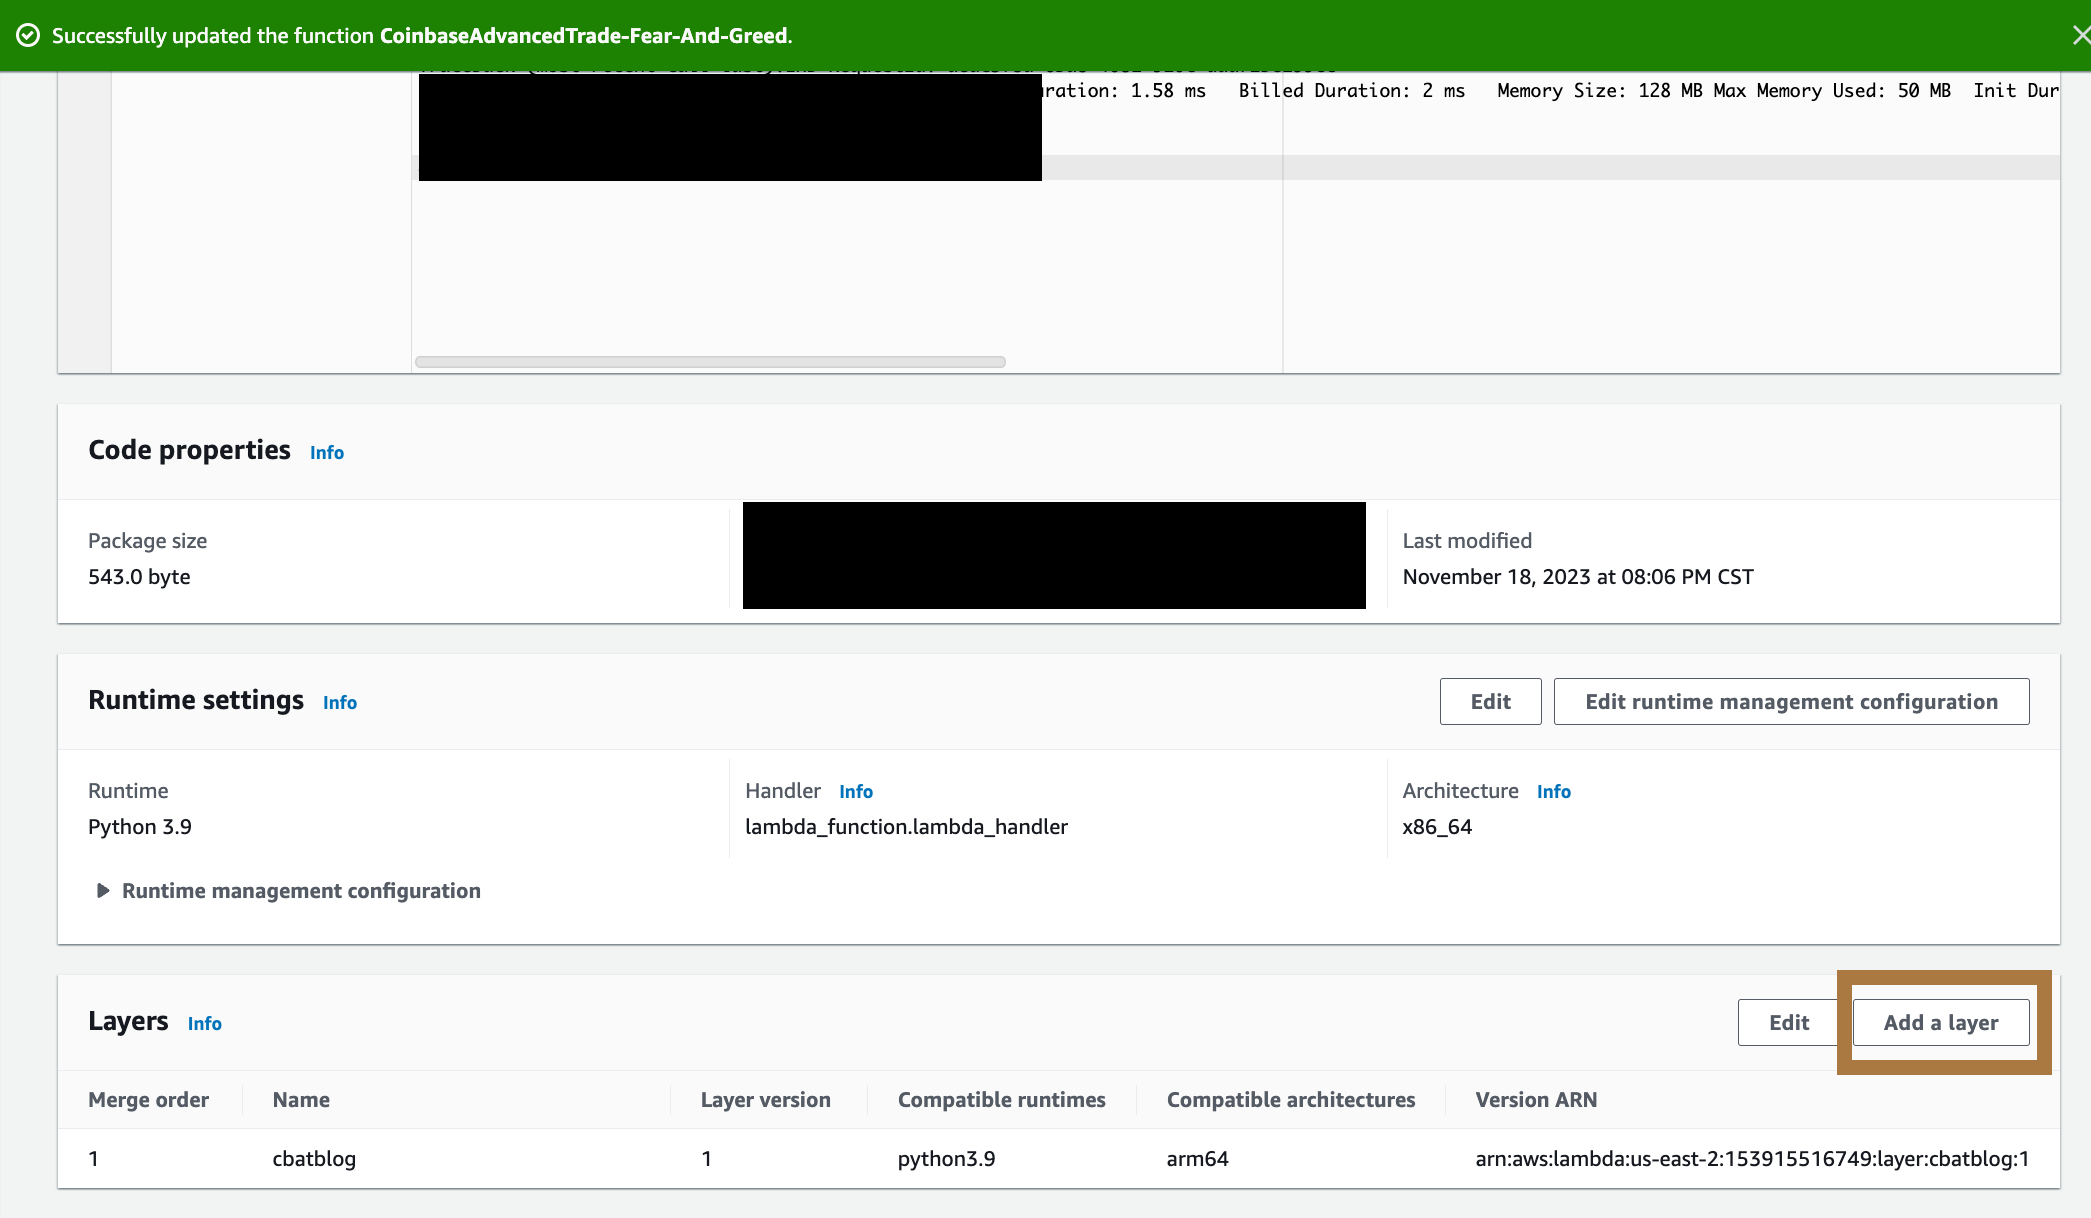
- Navigate to your lambda function and add the layer.
6b. Programmatic Upload to AWS
Alternatively, you can programmatically upload your layer to AWS using AWS CLI.
You now have a layer.zip file in your lambda-layer-project directory which contains the necessary Python packages. Deploy this to AWS Lambda as a new layer:
Note: To execute the following command, you need to have AWS CLI set up correctly. For more information, refer to the AWS CLI User Guide.
bashCopy codeaws lambda publish-layer-version \
--layer-name your-layer-name \ --description "Python dependencies for my function" \
--zip-file fileb://layer.zip \
--compatible-runtimes pythonX.X
Replace your-layer-name with a suitable name for your layer and X.X with your Python version.
Additional Notes:
- The
--zip-fileargument must reference a binary file in the file system. The binary file must be base64-encoded when serialized. The maximum size of a blob is 50 megabytes. - The
--compatible-runtimesargument specifies a list of runtime identifiers. Up to five identifiers can be specified. AWS Lambda supports only the Node.js runtime for layers. - The
--layer-nameargument specifies the name or Amazon Resource Name (ARN) of the layer. - The
--descriptionargument specifies the description of the version of the layer.
7. Create Automations in AWS
Thanks to lambda layers, now you can bring any code you've written locally into the cloud!
Now you can start to automate trades or any other function you can imagine using EventBridge and other AWS services
Check out this video here to learn more: